practical guide
How to Run a Custom Tattoo Consultation That Ends in a Deposit
A step by step walkthrough of the consultation that turns a vague inquiry into a sized, placed, priced piece with a signed deposit and a stencil plan you can actually draw.

 Ink and Ledger
What to Ask Before You Say Yes to an Inquiry
A good tattoo consultation starts before the client even comes in. When someone messages about a custom piece, gather key details up front. Find out what style they want, what subject or themes interest them, and if they already have reference images in mind. Ask about the location on the body, their ideal size, and any important dates or deadlines. This filters out clients who are unprepared or indecisive, and helps you spot impossible requests early.
Check if the client has prior tattoos in the area they want worked on. Scar tissue, cover-ups, or existing work can dramatically change what is possible. If you work in a state where certain areas require special licensing or aftercare, make that clear now. Some shops send a digital intake form ahead of time to save back-and-forth. No matter how you do it, set expectations that you'll need clear information before booking a slot.
Keep reading: Booth Rent vs Commission Split: How Each One Pays a Tattoo Artist
Reading Reference Photos: Style, Source and Red Flags
Reference images can make or break the custom tattoo process. When a client shares photos, start by sorting them into categories. Is the client showing you finished tattoos, sketches, or photos of real objects? Each type of image gives you different information. Ask which one they like best if they send a set.
Style Awareness
Determine if the references match the style you actually work in. For example, a client may bring in black and gray realism for a shop that specializes in traditional flash. If the style is not a match, be honest and refer out if needed. Never promise a result you cannot deliver.
Source and Copyright
Find out if the reference is another artist's finished tattoo. Using someone else's work line for line is poor practice. Instead, use it to discuss what the client likes about it: the shading, the composition, or the subject. For photos of artwork, ask if they have permission to use it. For real object photos, like animals or jewelry, clarify which details matter most.
Red Flags and Fixes
Look for warning signs: screenshots of Pinterest collages, images with watermarks, or blurry photos. If the client cannot explain what they like about the image, spend a few minutes helping them narrow it down. Sometimes, you will need to find clearer or more suitable references together.
Placement, Size and How Skin Changes the Drawing
Once you know the general idea, discuss where the tattoo will go. Placement affects both the technical side and the final look. Some areas, like ribs or hands, are more painful and may require special care. The shape of the body part also changes how a stencil will sit. For example, a straight design looks curved on a round shoulder. Show clients with a mirror or marker if needed.
Body Dynamics
Explain how skin stretches and moves. Large pieces across joints or muscles will shift as the client moves. Fine detail may blur over time on areas with thin or loose skin. Advise against tiny intricate tattoos in spots like fingers or feet, where fading and spread are common. If the client wants a design that wraps, map out the start and end points together.
Sizing for Detail and Longevity
Use a ruler or stencil to show what different sizes mean. Compare their ideal size to your minimum for clarity and future touch-ups. Many clients underestimate how much space a detailed tattoo actually needs. Make it clear that shrinking a complex design will sacrifice linework or shading. If the client is unsure, offer a size range and show what fits inside each.
Keep reading: Tattoo Deposit Policies That Fail When a Client Disputes a Charge
Talking Budget in Session Hours, Not Guesses
Money talk is never easy, but it saves time and frustration. Break down your rates by the hour or by the session, not by vague ballpark figures. If you charge a shop minimum, explain what that covers. For larger pieces, estimate how many sessions will be required and what can be done in each one.
Clients may not understand why one piece takes two hours and another takes eight. Walk them through your process: setup, stencil, linework, shading, breaks, and clean down. Remind them that some areas or skin types may require slower work. If you offer flat rates for flash or common sizes, state when that applies and when it does not.
Ask if the client has a strict budget. If so, show how their choices affect the quote. For example, simplifying a design or adjusting placement can bring costs down. Always explain that quality tattoos are an investment, and that rushing to meet a low price rarely ends with good results.
Quoting a Range and Explaining What Moves It
Never quote a single price for a custom piece without seeing the full picture. Instead, give a range based on the information you have: complexity, size, placement, and style. Spell out what factors could shift the final price higher or lower. If the client wants color instead of black and gray, or more detail than first discussed, the range will change.
Be transparent about what is included. Does your quote cover a touch-up session? Are aftercare supplies included? If you charge more for certain inks or placements, explain why. Write down the discussed range and have the client initial or acknowledge it, even if it is informal. This protects both sides from future confusion.
If you work on large-scale projects, like sleeves or back pieces, discuss how breaking up the work affects cost. Sometimes healing between sessions uncovers areas needing more work, which adds time. Let clients know that while you aim to stick within the range, true custom work can reveal surprises once the needle touches skin.
See how StencilIntake handles this for tattoo studios
Taking the Deposit and Writing the Reschedule Terms
Once the client is ready to book, collect a deposit. This holds their slot and covers your prep time. Make your deposit policy clear: is it refundable, transferable, or forfeited if they no-show? Write the terms on a paper or digital form and have the client sign.
Explain your rescheduling policy. Do you require 48 hours notice? One week? Spell out what happens if the client cancels late or misses an appointment. Many shops apply the deposit to the last session, or use it to cover lost time if the client cancels without notice. If you offer one free reschedule per deposit, state that up front.
Always record how the deposit was paid: cash, card, or digital. Issue a receipt with the date, amount, and terms. This reduces disputes and shows clients you run a professional shop. If you use an online system, make sure it confirms the booking and emails the terms to both sides.
Turning Consult Notes Into a Stencil Plan
After the consultation, gather all your notes: reference images, placement sketches, size limits, and client preferences. Review them to ensure nothing was missed. Create a checklist for the actual stencil. List what the client expects to see, which elements are must-haves, and what can be adjusted on the day of the appointment.
If you use a tablet or tracing paper, draw the first pass and compare it to the reference images. Check for flow with the intended body part. If possible, overlay the design onto a photo of the client's skin, this helps spot distortions or areas where lines might get lost. Save versions of the stencil at key stages so you can show options or tweaks if the client changes their mind before the appointment.
Document any special instructions for aftercare, especially for unusual placements or skin types. Write down reminders for yourself, such as ink preferences or allergy notes. When the client returns, review the plan together before starting. This builds trust and avoids last-minute confusion.
For studios handling multiple custom projects at once, an organized intake and stencil workflow makes all the difference. Digital tools that collect reference uploads, manage deposits, and deliver aftercare instructions can streamline the entire tattoo consultation process from first inquiry to finished stencil.

Booth Rent vs Commission Split: How Each One Pays a Tattoo Artist
Booth rent, percentage splits and hybrid deals pay out very differently once supplies, card fees and self employment tax come off the top. Here is the math on both, side by side.

Tattoo Deposit Policies That Fail When a Client Disputes a Charge
Vague terms, verbal reschedules and a deposit taken through the wrong payment channel are what lose a chargeback. Here is how to write terms that hold up when a client pushes back.
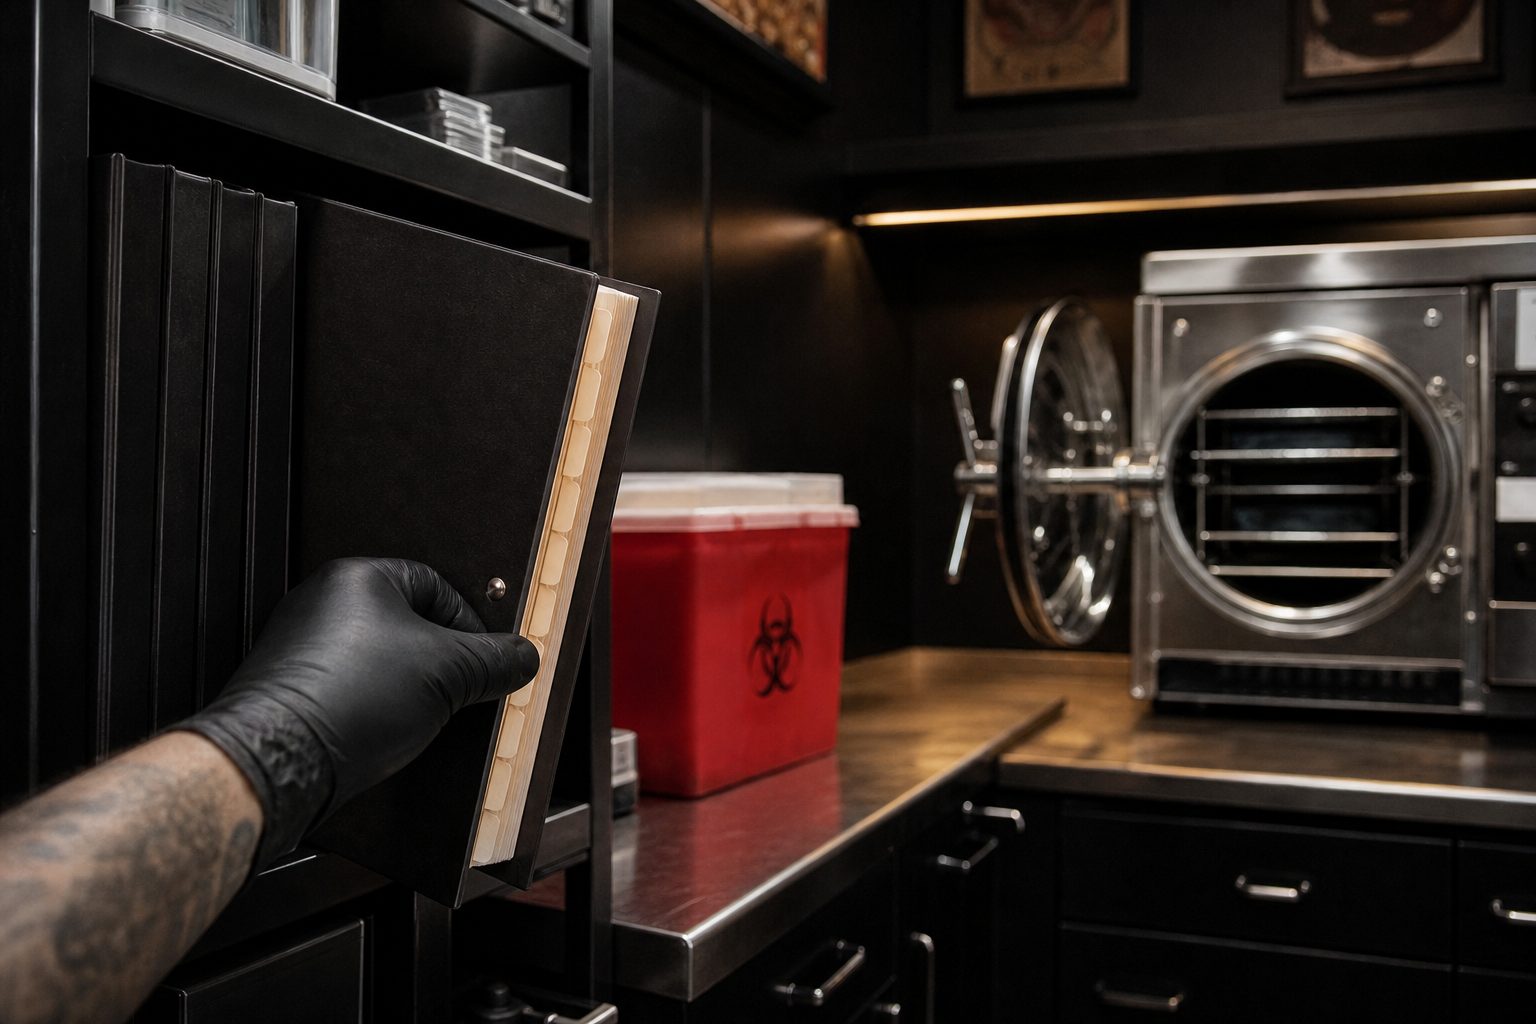
Tattoo Shop Permits, Training and the Records Inspectors Ask For
State body art permits, bloodborne pathogens training and an exposure control plan all leave a paper trail. Here is the file an inspector opens first and what belongs in it.